How to Install BirdNET-Go on a Raspberry Pi
16 February 2026
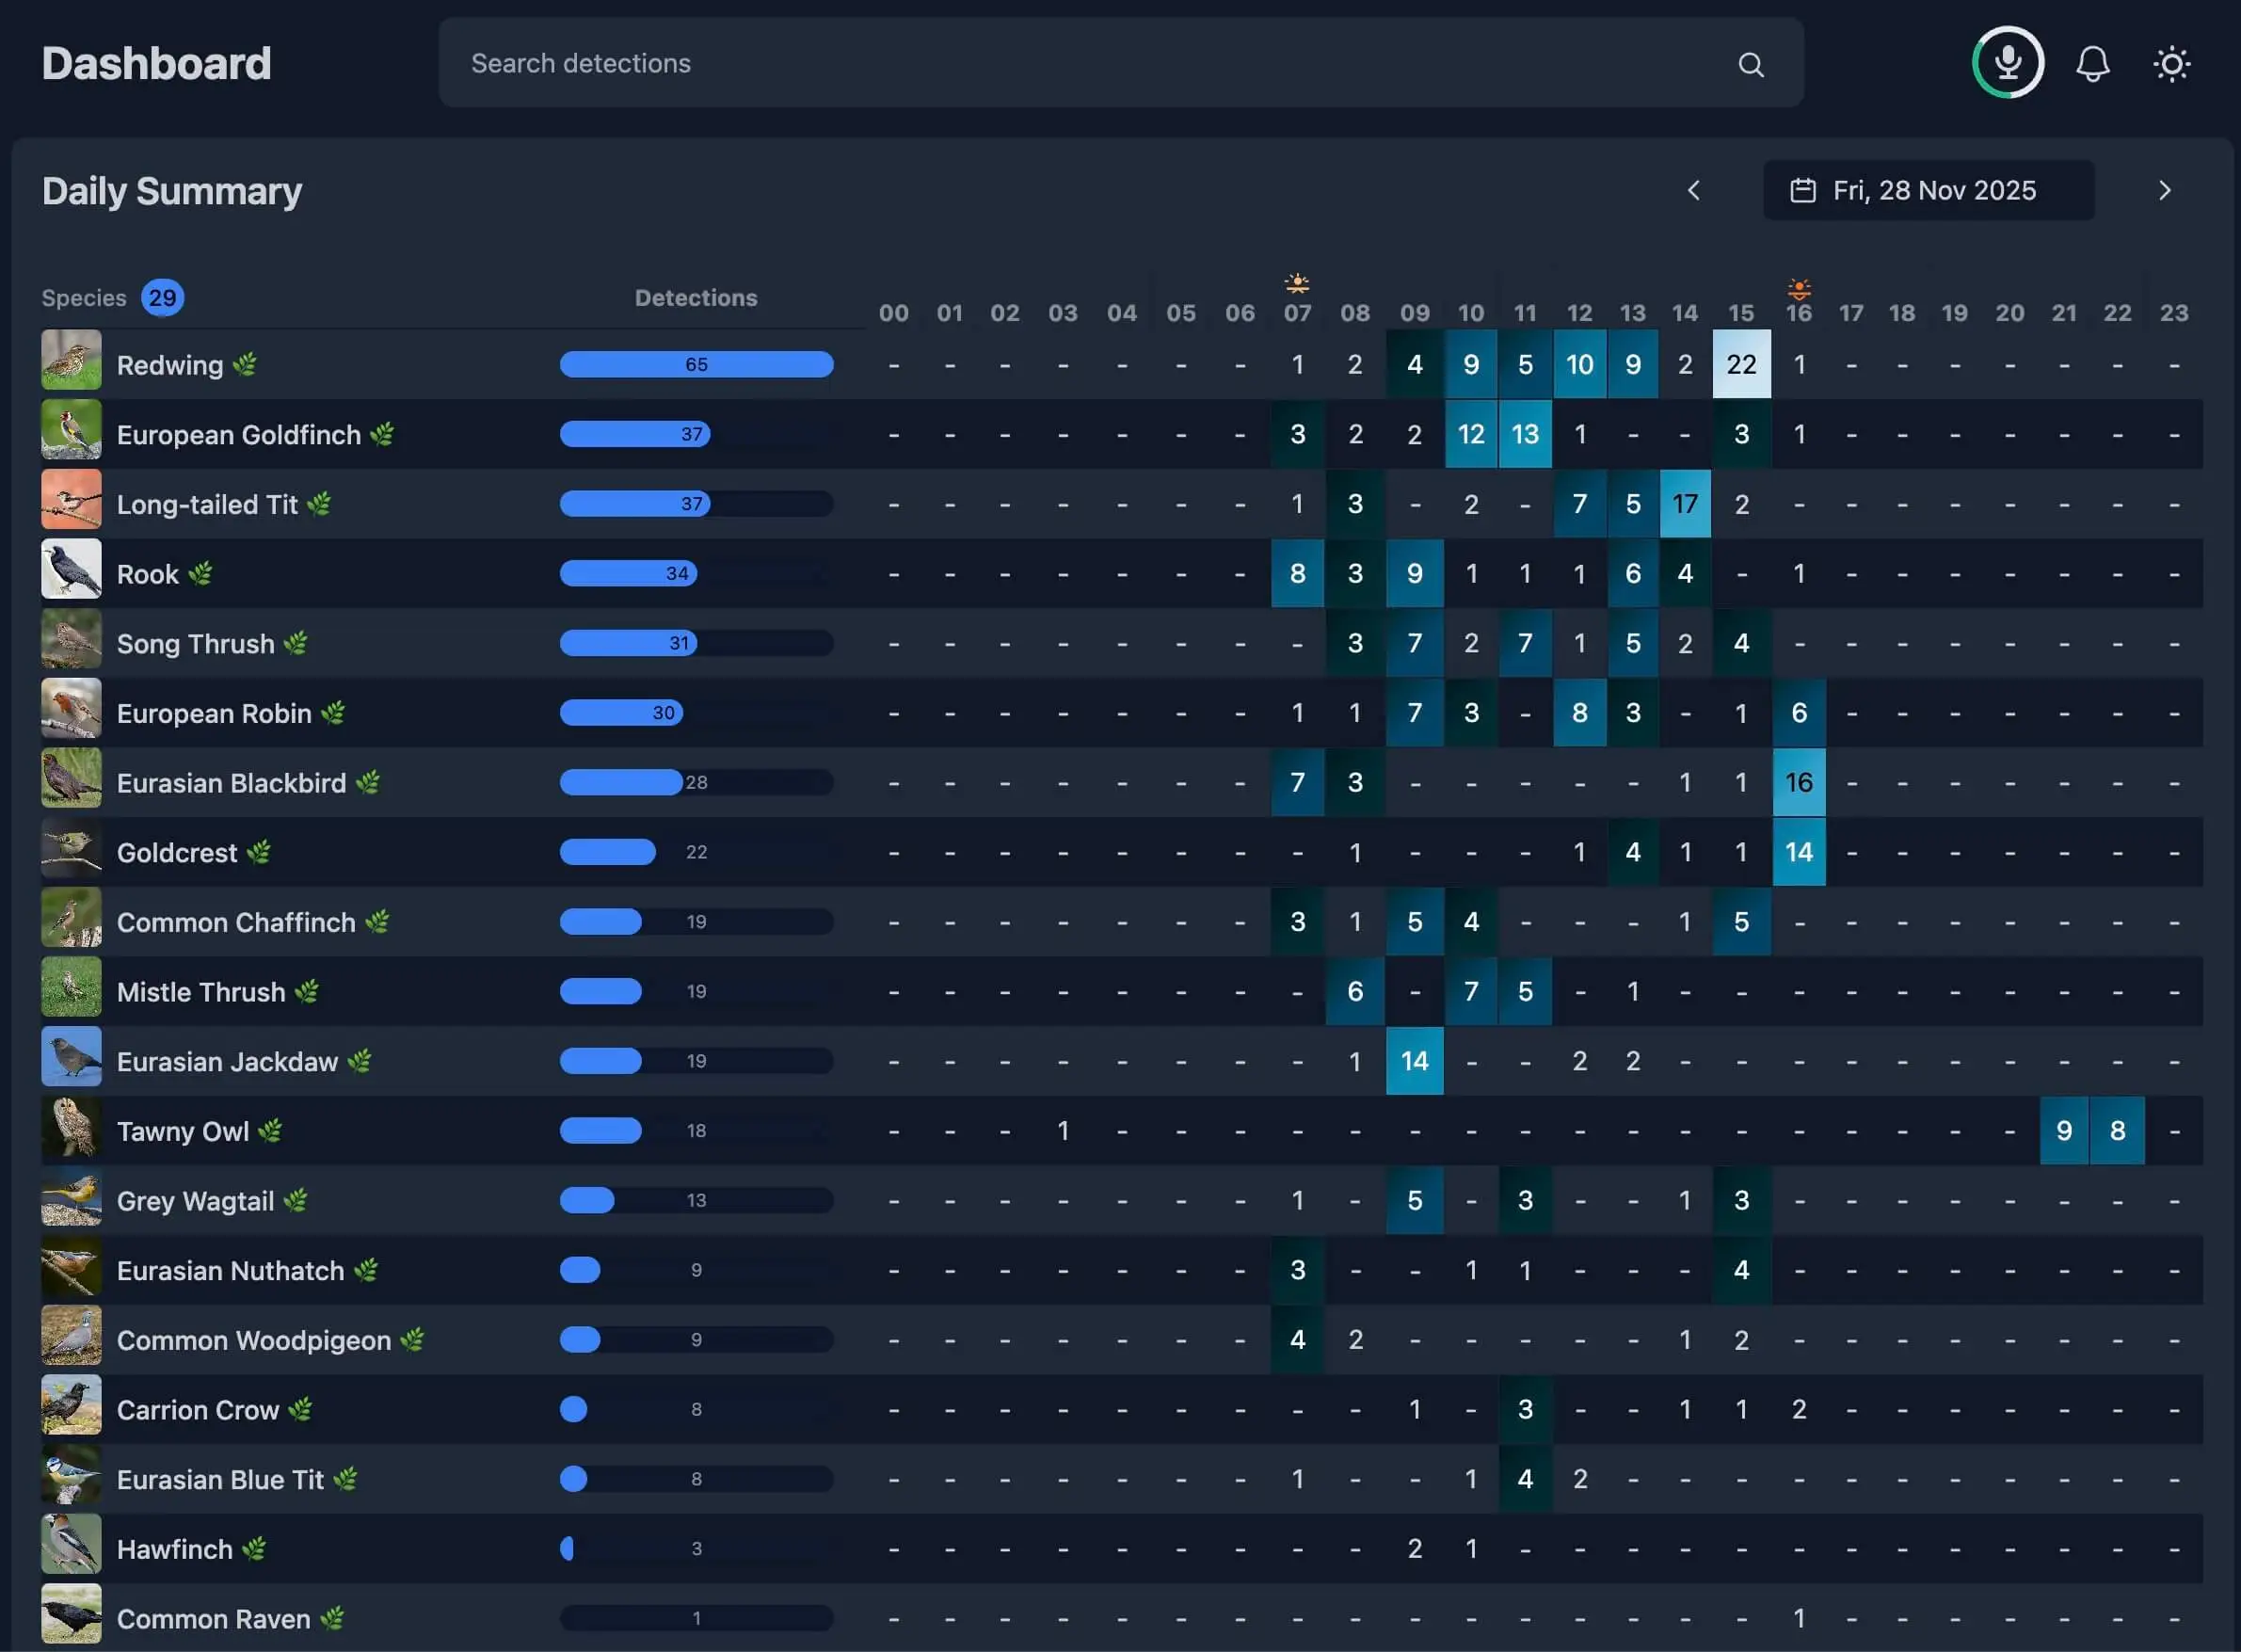
BirdNET-Go is our preferred open-source package for running real-time bird detection. It’s a high-performance application that analyses live audio feeds 24/7 to identify, record and visualize bird sounds.
This article walks through the software side: flashing the OS to a microSD card, configuring the Pi, and pointing you at the BirdNET-Go install. If you haven’t picked your Pi, card and microphone yet, start with Choosing the Right Hardware for a BirdNET Bioacoustic Monitor.

Flashing Raspberry Pi OS
First we need to put an operating system on the microSD card. The easiest way is the Raspberry Pi Imager tool, available for Windows and macOS at raspberrypi.com/software.
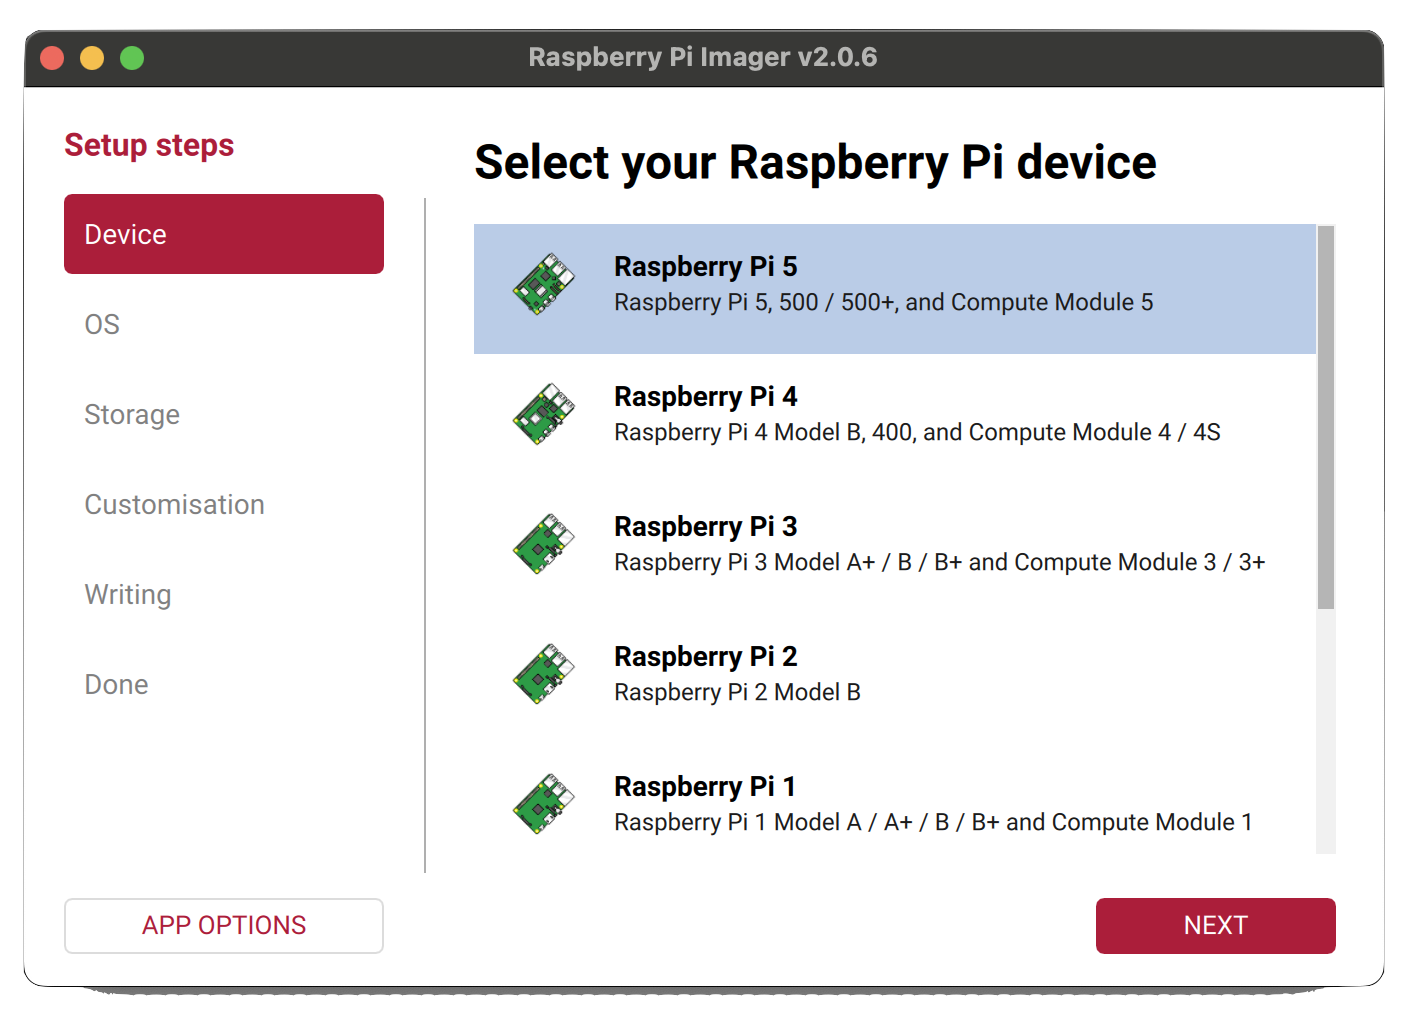
Start the imager and follow the steps below:
- Select your device type from the list.
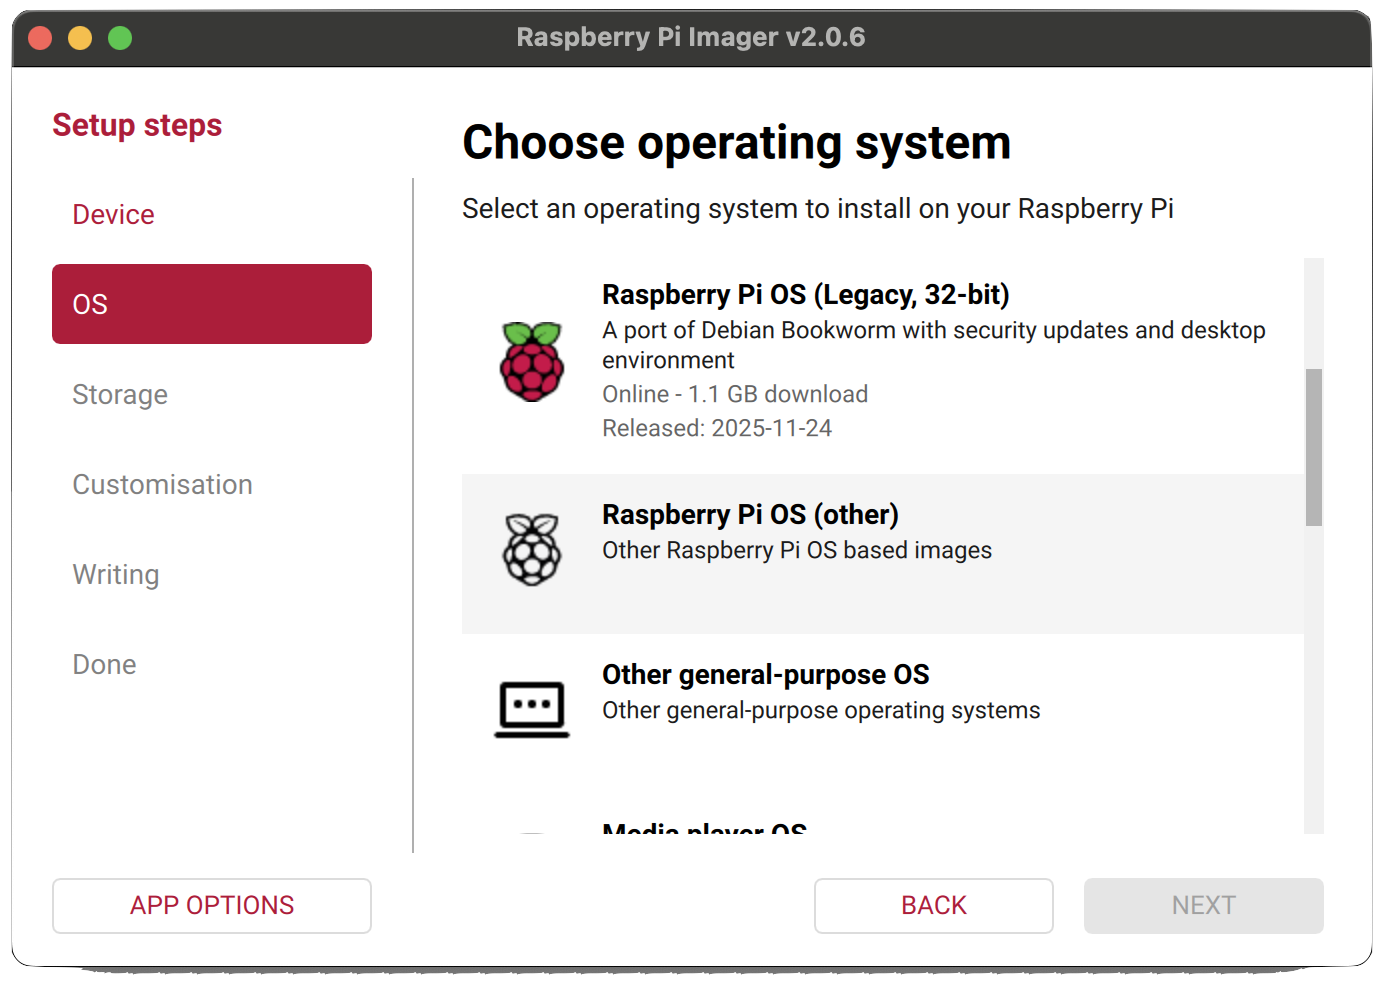
- Select an OS - we recommend Raspberry Pi OS Lite (64-bit), which is more lightweight. It isn’t in the main options, so scroll down and click Raspberry Pi OS (other) to reveal more.
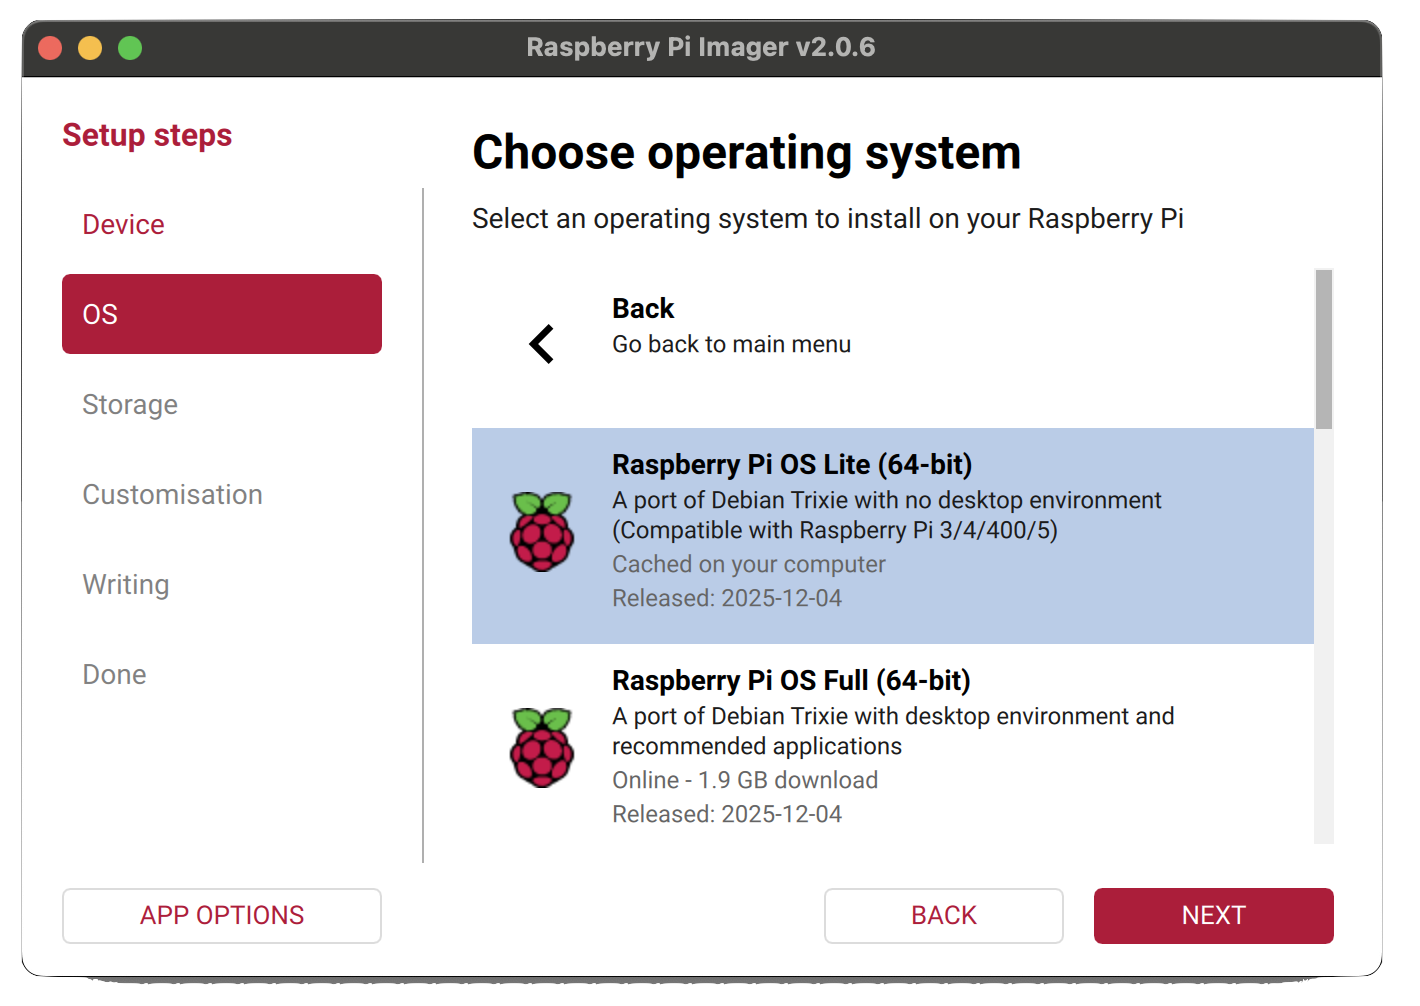
- Select Raspberry Pi OS Lite (64-bit) from the list.
- Select your microSD card as the storage target.
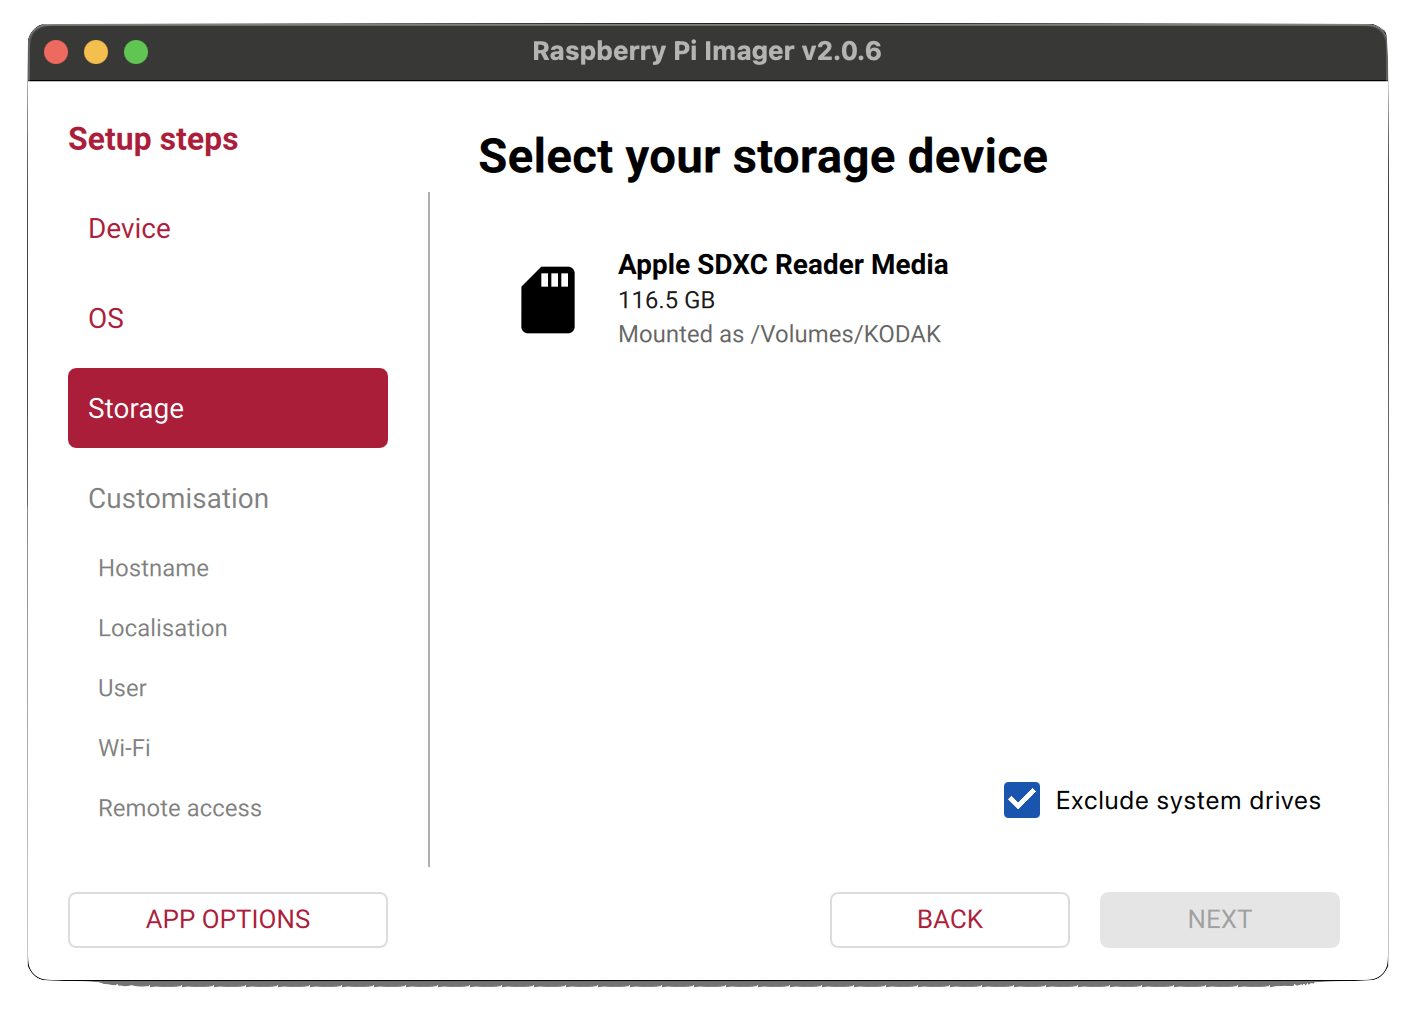
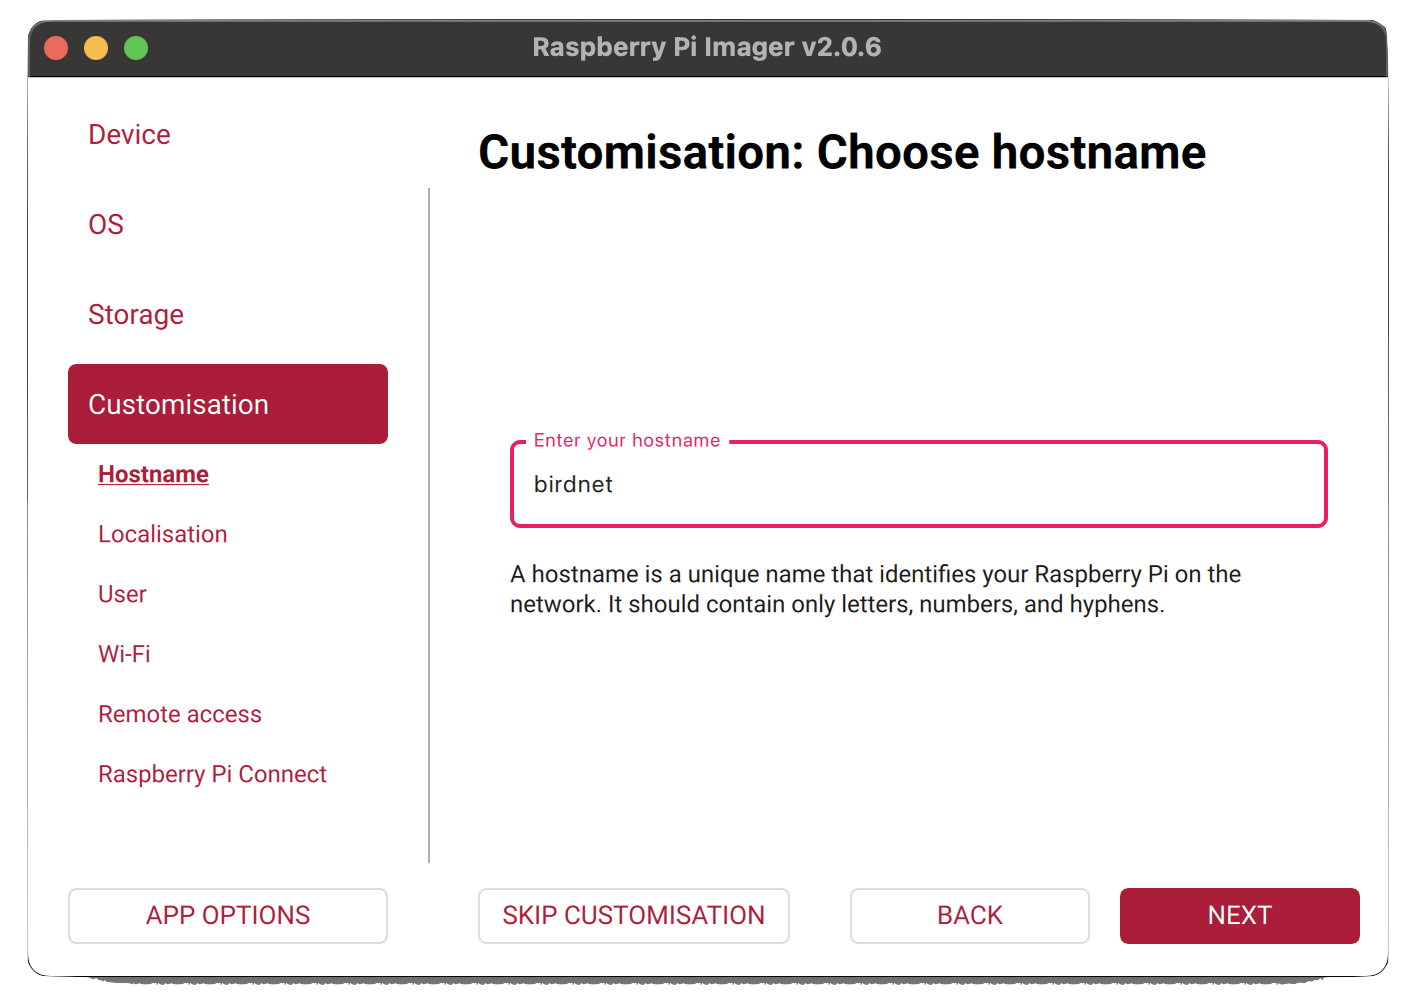
- Before writing, the imager will offer to pre-configure settings. Click Edit Settings. Start by setting a hostname for your device - this is the name it will appear under on your network.
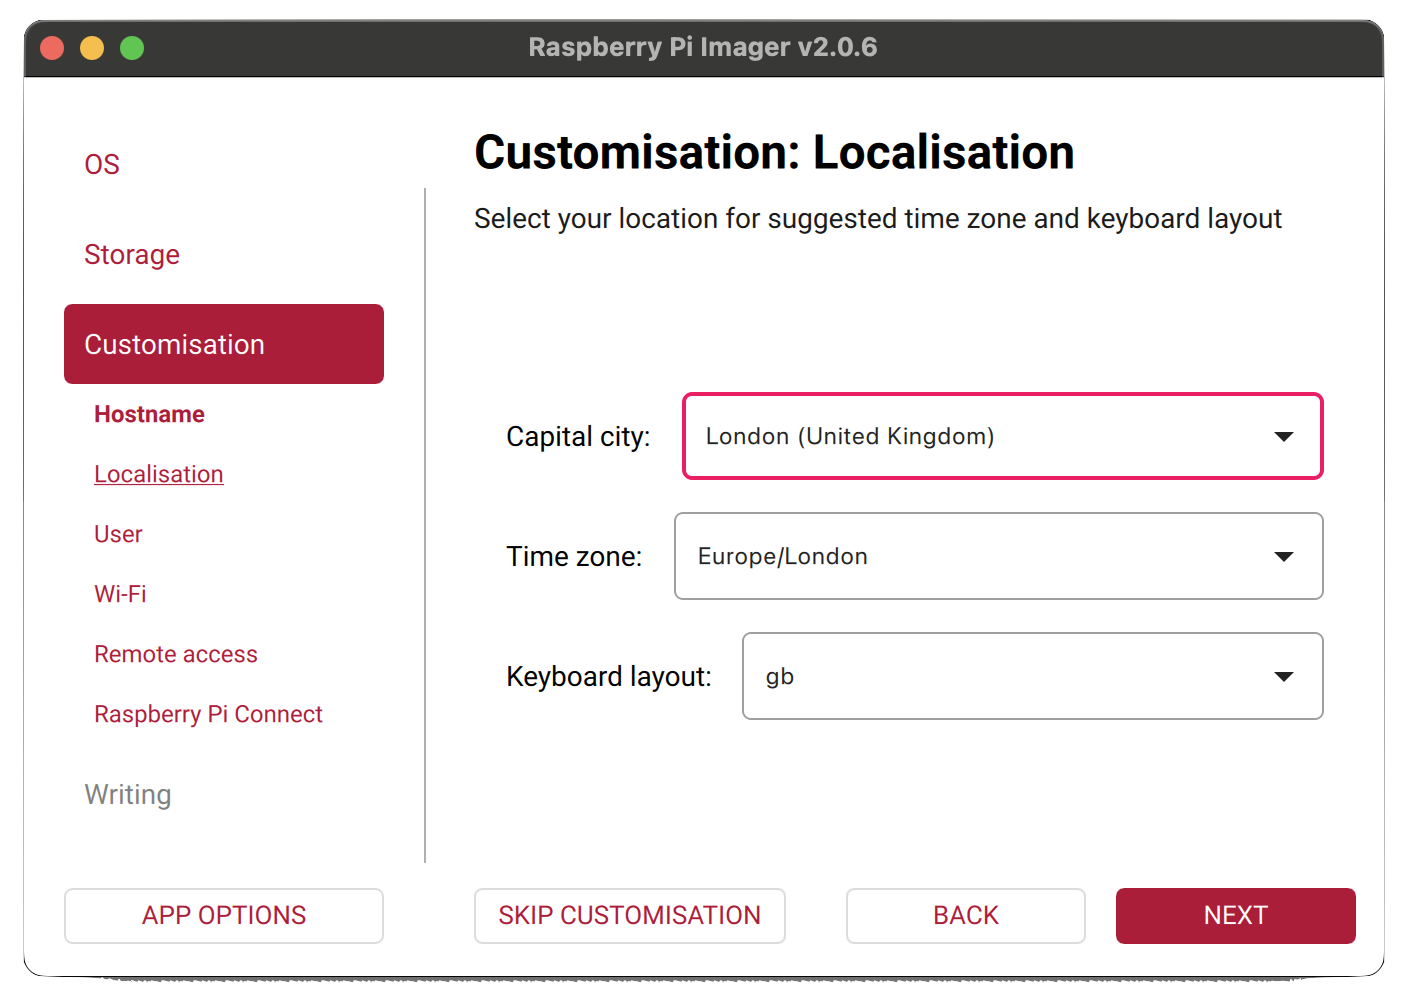
- Set your localisation options - timezone and keyboard layout - to match your region.
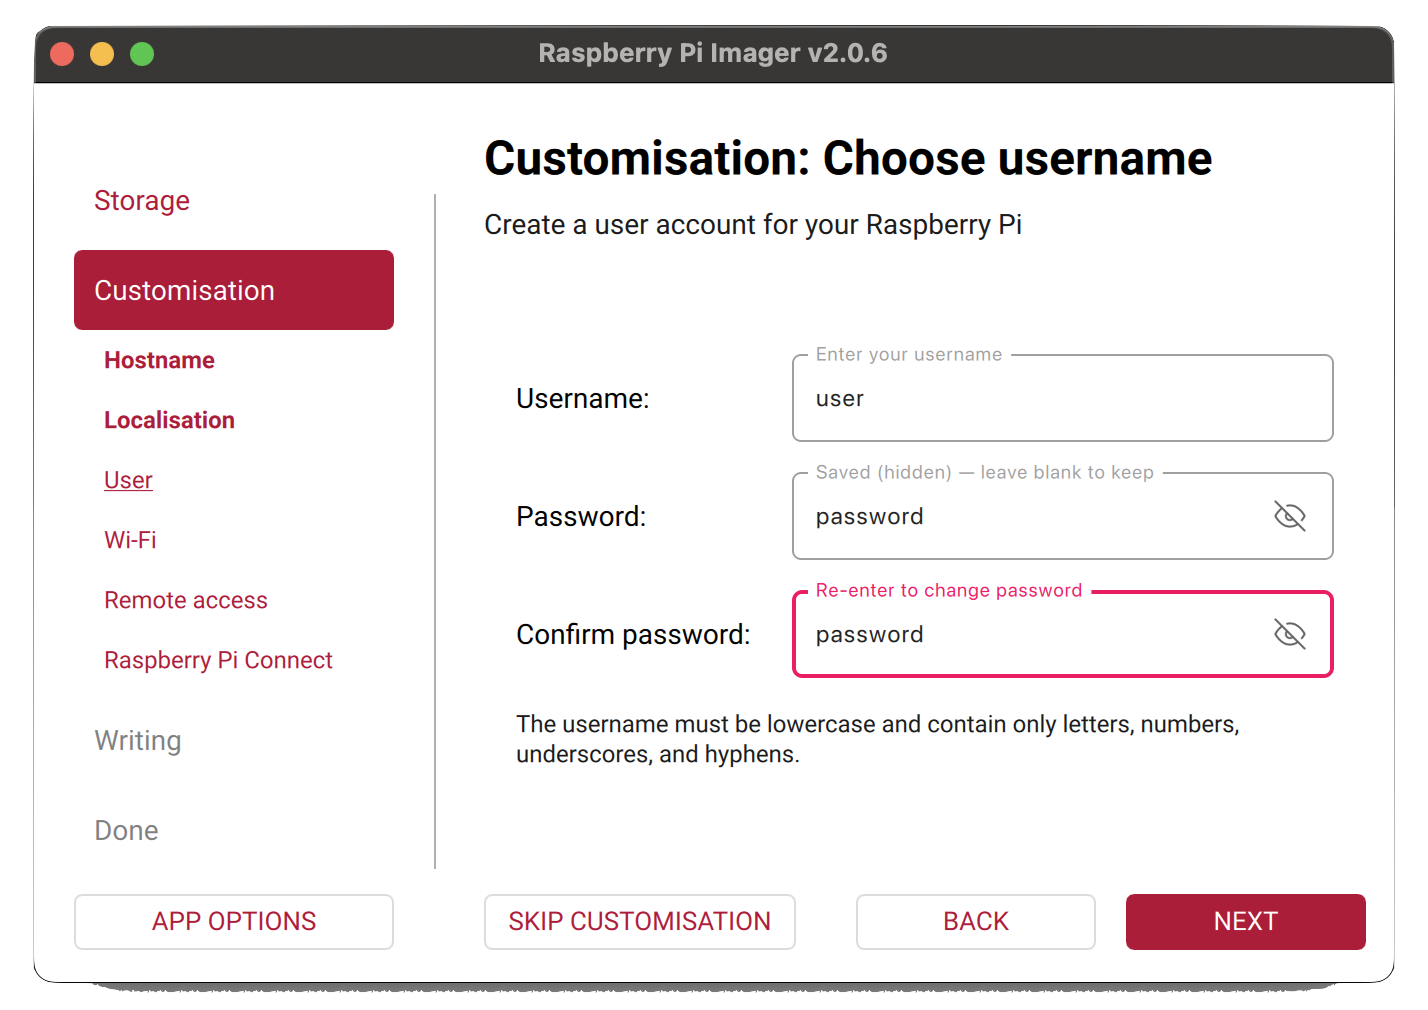
- Set a username and a strong password. You’ll use these to log in to the Pi.
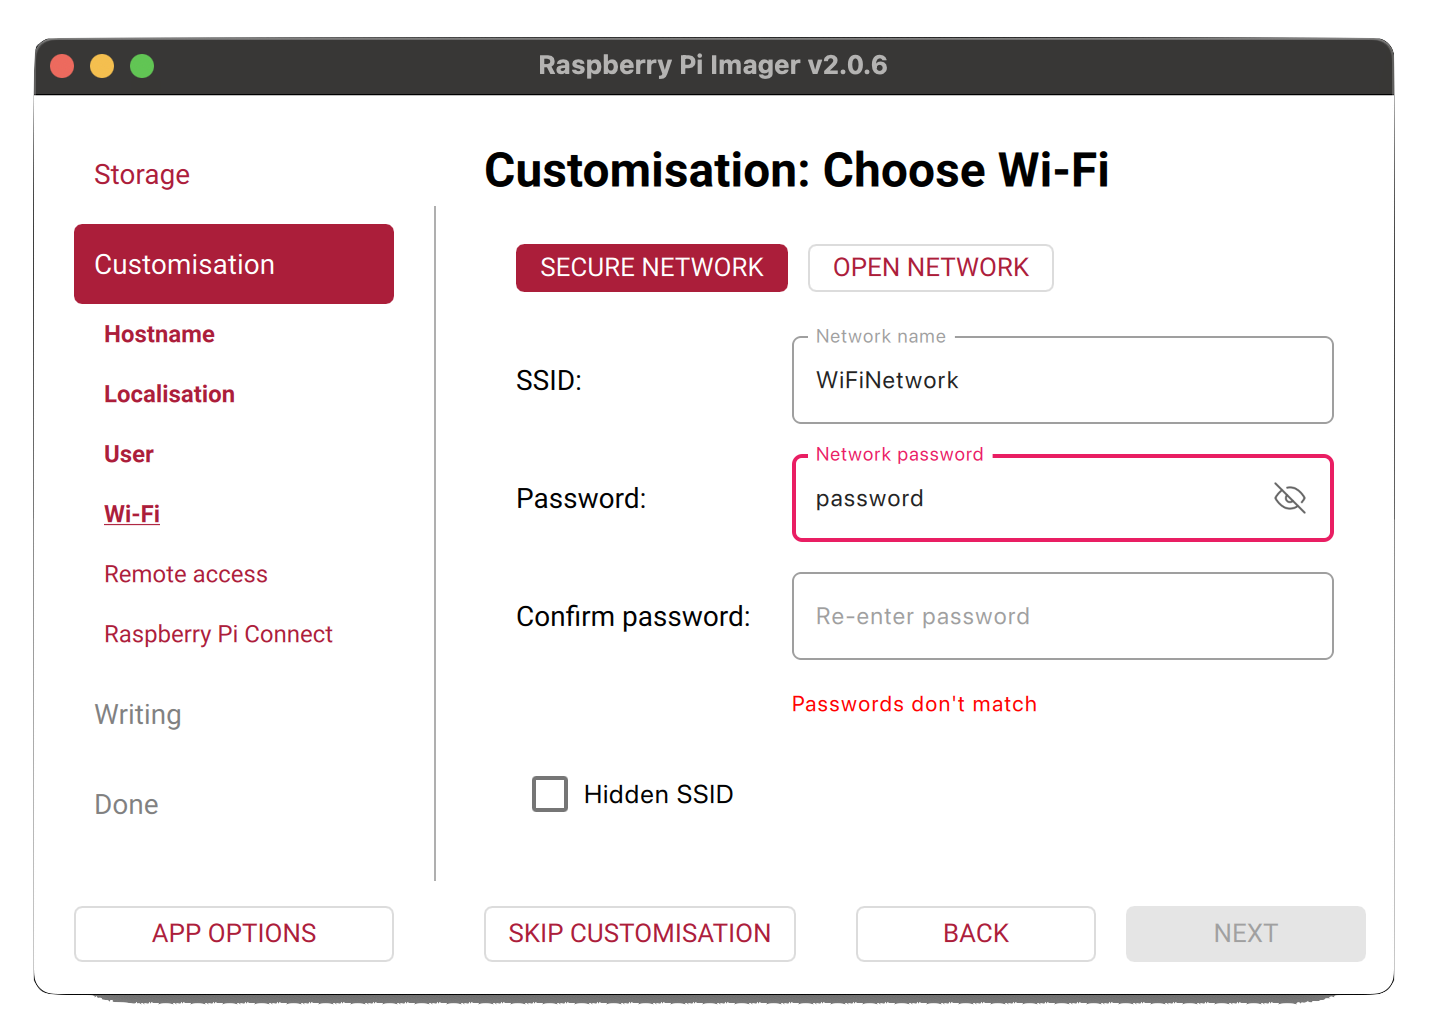
- If you’ll be connecting the Pi over WiFi, enter your network name (SSID) and password here. For a wired ethernet connection, you can skip this.
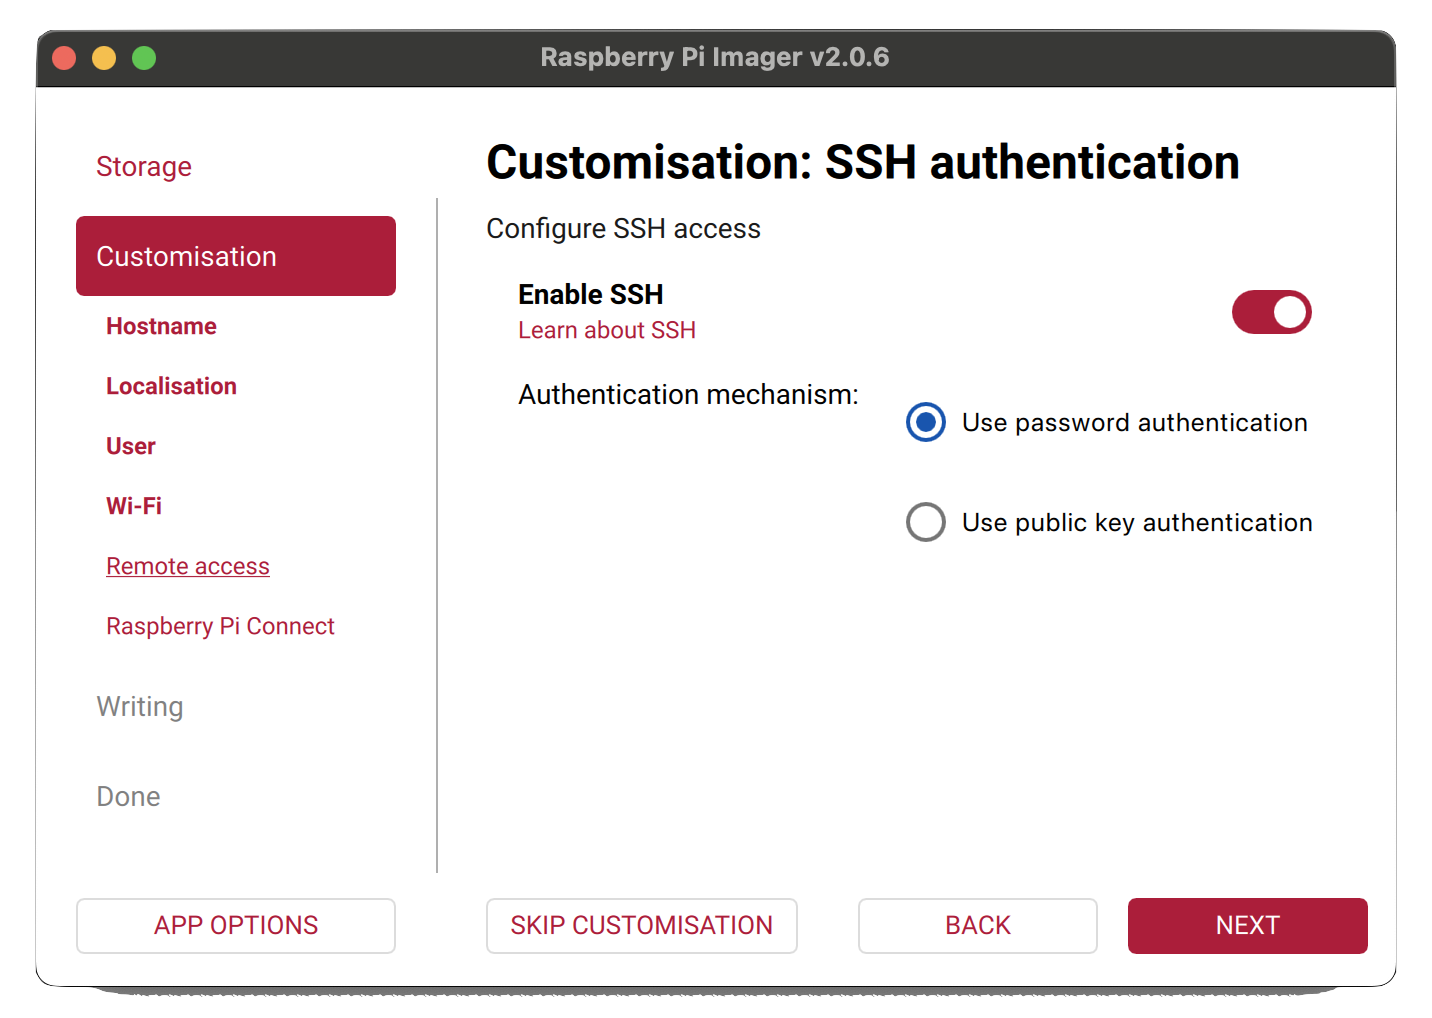
- Enable SSH so you can connect to the Pi remotely from your computer without needing a monitor or keyboard attached.
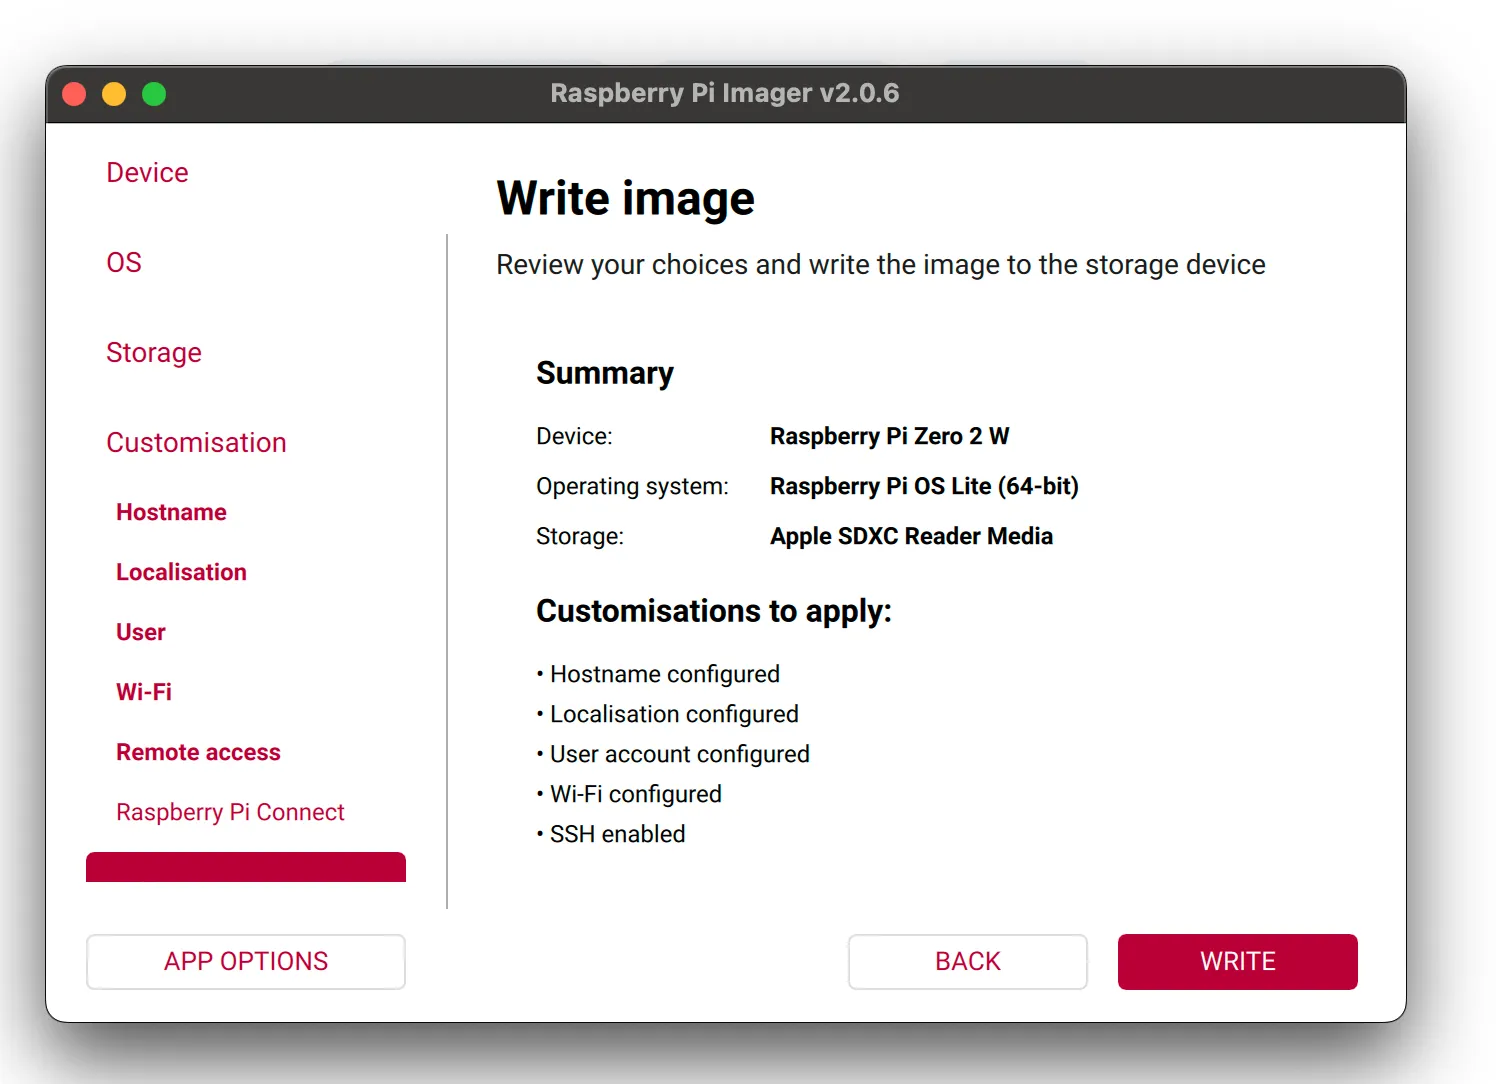
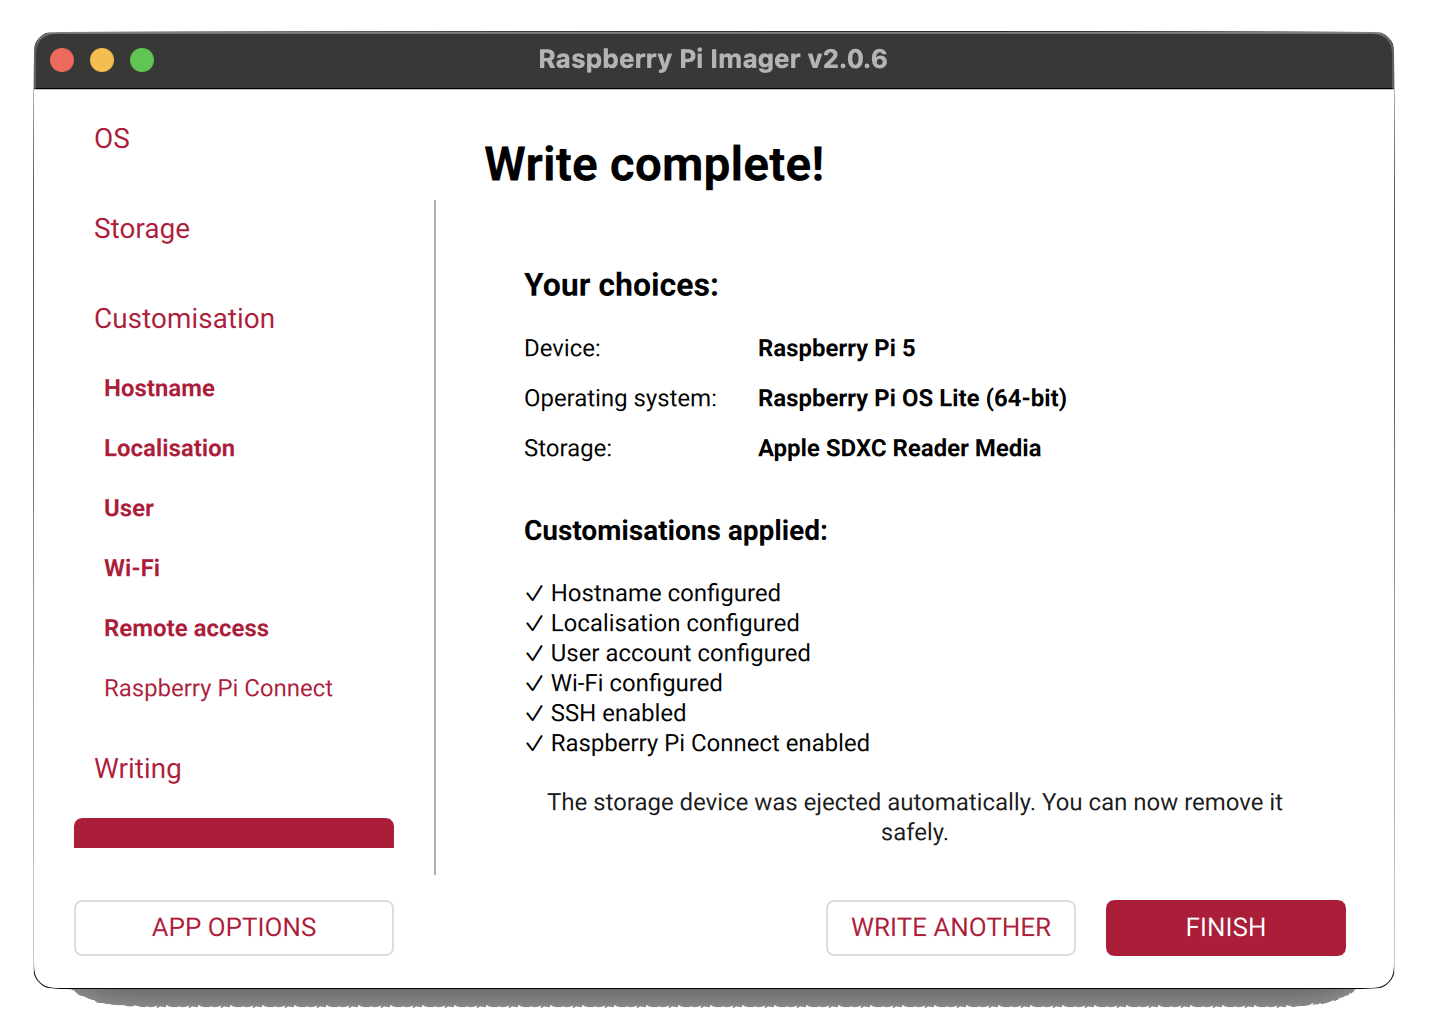
- Once your settings are confirmed, click Write to begin flashing the OS to the microSD card.
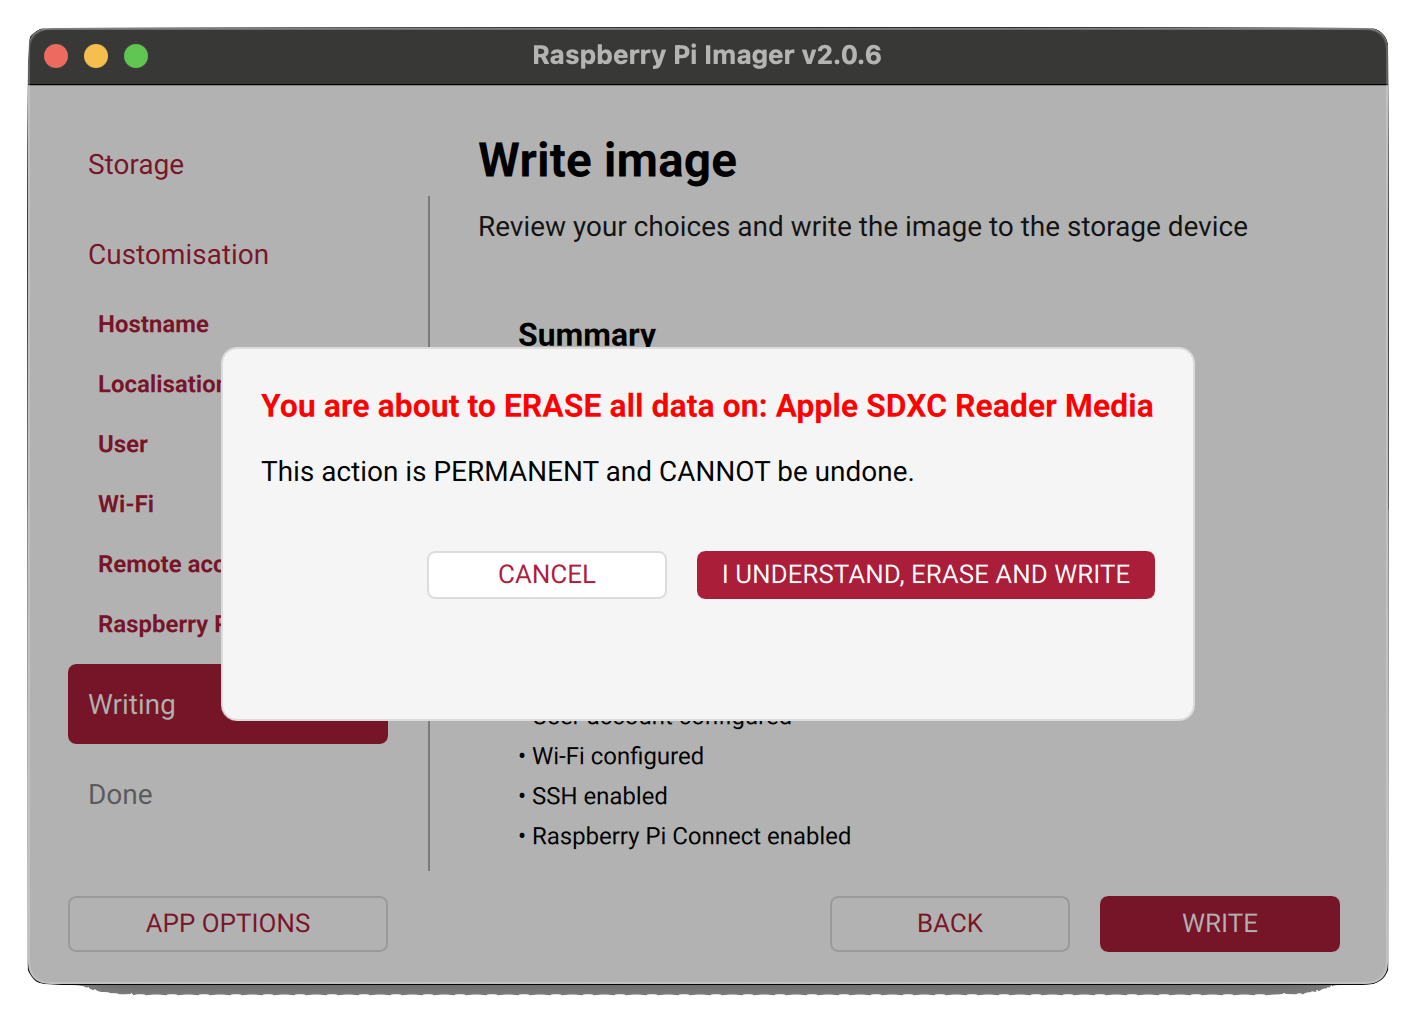
- Confirm you’re happy to erase the card and proceed.
- Wait for the process to complete - the imager will verify the write automatically. Once done, you can safely remove the card.
The same flashing process applies to other devices like a Raspberry Pi 4 or Zero 2 W - only the first step (device selection) changes.
First boot
Insert the microSD card into your Pi, connect your microphone via USB, and power it on. Give it a minute to boot, then SSH into it from your computer using the hostname and credentials you set up in the imager:
ssh <username>@<hostname>.localConfirm the microphone is detected
Before installing BirdNET-Go, it’s worth checking the Pi actually sees the USB microphone. Run:
arecord -lYou should see your audio device listed (something like card 1: Device [USB Audio Device]). If it isn’t there, unplug and re-plug the mic, then try again. If it still isn’t picked up, the cable or the USB interface is the usual culprit before the Pi itself.
Installing BirdNET-Go
BirdNET-Go provides an install script that handles Docker, audio permissions and the systemd service in one go. On the Pi, run:
curl -fsSL https://github.com/tphakala/birdnet-go/raw/main/install.sh -o install.sh
bash ./install.sh
The script will walk you through the initial configuration - web port, audio input source, audio export format, locale, your location (latitude and longitude), and optional password protection for the web UI.
Set your location accurately. BirdNET filters predictions by the species likely to occur at a given lat/long and time of year, so giving it real coordinates makes detections noticeably more reliable. “Roughly where the device lives” is plenty - no need to be precise to the metre.
Once the script finishes, open the web UI in a browser:
http://<hostname>.local:8080(8080 is the default port unless you changed it during setup.) You should see audio levels reacting to sound in the room, and detections starting to appear within a few minutes if there are birds calling nearby.
Where your data lives
The install script puts everything under your home directory:
- Config:
~/birdnet-go-app/config/config.yaml- edit this if you want to tweak settings later without going through the web UI. - Data:
~/birdnet-go-app/data- the SQLite database of detections and any audio clips that get exported.
Worth knowing for backups: if you want to keep the historical record across an SD card failure, the data directory is the thing to sync somewhere safe.
Tuning detections: confidence threshold
The single most useful setting once you’re up and running is the detection confidence threshold, in the web UI under settings (or confidence in the config file). It’s a number between 0 and 1 that controls how sure the model has to be before logging a detection.
- Low threshold (around 0.3–0.5): you’ll capture more detections, including ones the model wasn’t sure about. Useful for spotting rare or quiet species, but expect more false positives.
- High threshold (around 0.7–0.85): cleaner data, fewer mistakes, but you’ll miss some genuine detections of harder-to-identify species.
For a casual garden monitor, start somewhere in the middle (around 0.6) and adjust based on what you’re seeing in the false-positives versus what you know is around.
Optional: piping detections elsewhere
BirdNET-Go can publish detections to external systems via MQTT and webhooks, both configurable in the web UI. If you want a feed into Home Assistant, a custom dashboard, or a tool like Node-RED, that’s the route. Not needed for a standalone home monitor, but useful to know it’s there.
A note of thanks
Everything in this guide rests on BirdNET-Go, the open-source project built and maintained by tphakala. It’s a genuinely brilliant piece of software, and none of what we do here would be possible without the time and care he’s poured into it. If you get as much out of it as we have, consider giving the project a star on GitHub to show some support and there is also a sponsor option on there. Thank you, tphakala!