Choosing the Right Hardware for a BirdNET Acoustic Monitor
1 January 2026
If you want to run an always-on acoustic bird monitor with BirdNET-Pi, or BirdNET-Go (our favourite), the most important decisions happen before you write a single line of config. The combination of compute, storage and microphone you pick will largely determine how reliably the monitor runs and how usable its detections are.
This article covers the hardware. Once you have the parts in hand, head over to How to Install BirdNET-Go on a Raspberry Pi for a walkthrough to setup BirdNET-Go.
Picking a Raspberry Pi
We recommend a Raspberry Pi 5 (8GB) as the safest choice. This machine is easily powerful enough to run the real-time inference, along with the web UI and audio handling etc. A Raspberry Pi 4/4B is also fine (ideally 4GB or 8GB), and we’ve even run it on a Zero 2 W, so if you already have a less powerful machine like a 3B or Zero, it’s still worth trying. On lower-spec boards we’d particularly recommend BirdNET-Go over BirdNET-Pi, because it’s noticeably more efficient.
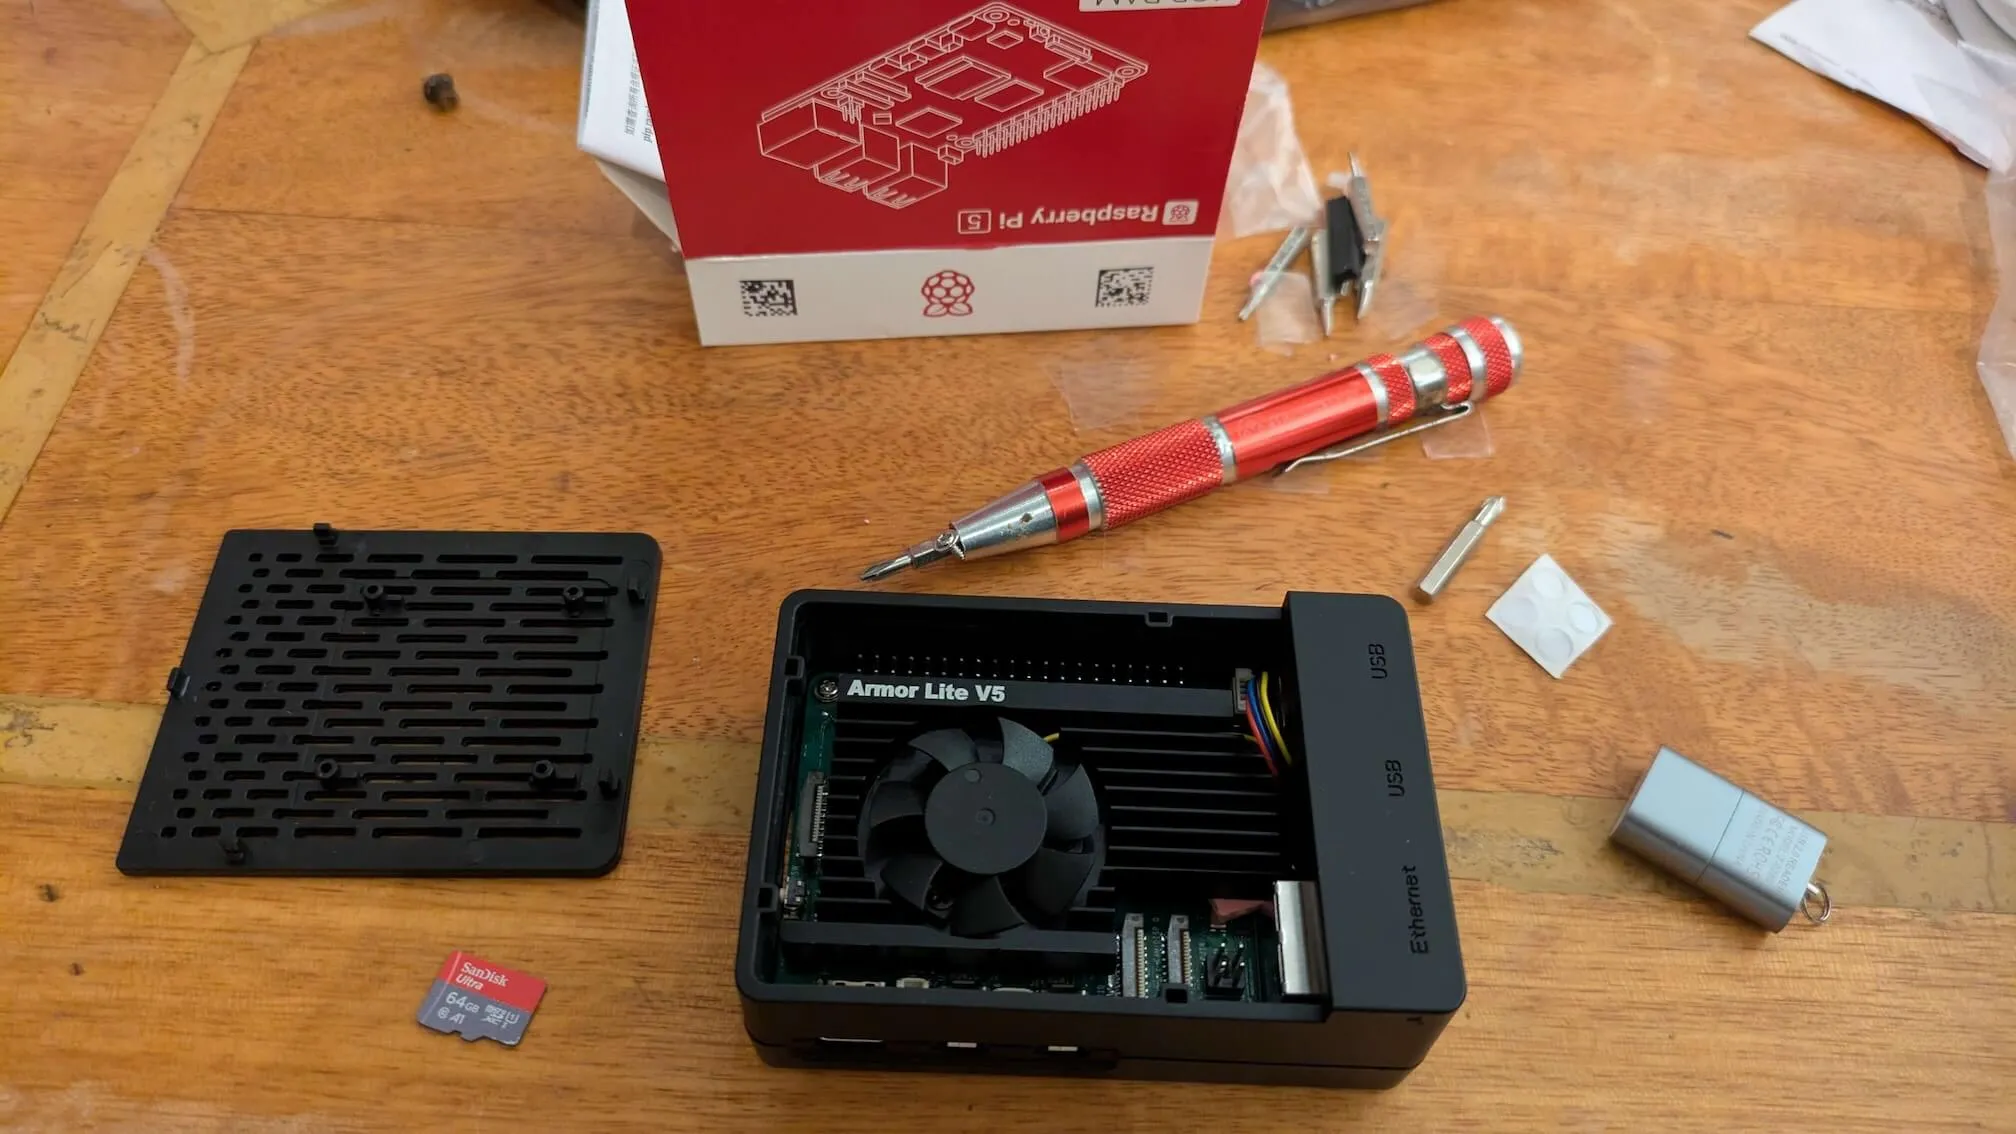
Choosing a microSD card
The Pi will be running 24/7 and writing audio continuously, so the card you put in matters more than it does for a casual project. For this reason we always recommend buying an Endurance card. Standard consumer cards aren’t rated for the sustained write cycles a busy monitor creates. Secondly, we always recommend buying branded, from a trusted supplier. There are a lot of fake cards sold by resellers on Amazon and eBay, so buy direct from manufacturer storefronts, or trusted websites like scan.co.uk or mymemory.co.uk. Finally, 64GB or larger gives you room to retain recordings and avoid filling up. We try to go for 128GB where possible.
Our picks:
- SanDisk MAX Endurance 128GB+
- Samsung PRO Endurance 128GB+
- Kingston High Endurance 128GB+
Choosing a microphone
For an indoor or sheltered setup, the Samson Go Mic performs excellently for its price point. It’s not weatherproof, so it needs to live somewhere dry - under the eave of a roof or similar.
A great DIY alternative is the Primo EM272J capsule paired with the Behringer UCA202 USB audio interface. The EM272J has ultra-low self-noise (14 dBA), which makes it excellent for passive bird monitoring. The capsule does need a small voltage divider circuit to power it correctly and this is well documented in the BirdNET-Pi community forums if you want to go down that route.
USB cable for the microphone
If the mic is going to live more than a metre or two from the Pi, use a good shielded USB cable. Long, cheap USB cables introduce noise into the signal and can drop the audio device entirely under load.
Power supply
Use the official Raspberry Pi power supply (the 27W USB-C PSU for Pi 5, or the official 5.1V/3A USB-C PSU for Pi 4). Cheap chargers cause voltage drops under load that confuse USB audio interfaces and, in the worst case, can corrupt the microSD card during writes. The Pi will print “under-voltage detected” warnings to the system log when this happens (worth checking after a few days of running if you’ve used a third-party PSU).
Case and cooling
A Pi running real-time inference 24/7 will throttle without active cooling, and this may lead to missed detections and stuttering audio.
- For Pi 5, the official Active Cooler clips straight on and is the easiest answer.
- For Pi 4, a metal case with a built-in fan (Argon ONE, Flirc, etc.) handles passive heat fine.
- A fanless aluminium case is enough for indoor use in a temperate room; if the monitor lives in a warm cupboard or near other heat sources, a fan is worth the small extra noise.
Network: Ethernet over WiFi where possible
WiFi works, and for a casual home setup it’s fine. But for anything you want to leave running reliably for months, a wired ethernet connection is more stable. It survives router reboots cleanly, doesn’t drop when the 5GHz band gets congested, and makes pulling recordings off the device faster. If the listening post is in a room without a network point, Powerline adapters are a reasonable middle ground.
Placement and weatherproofing
For most home setups, the mic lives under an eave or in a covered porch with the USB cable running back inside to the Pi. That’s the simplest reliable arrangement.
If you want the mic genuinely outside in the weather, you need:
- An IP-rated enclosure for any electronics, vented to avoid condensation.
- A wind shield (foam or fur “dead cat”) on the capsule. Otherwise wind noise will dominate every recording on a breezy day.
- Some way to keep condensation off the diaphragm, which is the failure mode that kills outdoor mics fastest.
The Pi itself should always stay indoors or in a properly sealed enclosure. It is not a weatherproof device.
Optional: UPS HAT
If the monitor is somewhere prone to short power cuts (which can corrupt the SD card if they hit mid-write), a small UPS HAT like the PiSugar or a Waveshare UPS HAT gives you a soft-shutdown window. Not essential, but cheap insurance for a remote deployment.
Once your parts are assembled, the next step is flashing Raspberry Pi OS and installing BirdNET-Go - see How to Install BirdNET-Go on a Raspberry Pi.